
You finally want to host your own Minecraft server so you and your friends can play on your own terms. No random griefers, no pay-to-win nonsense, just your world and your rules. But the moment you search for setup instructions, you hit a wall of confusing jargon, mismatched tutorials, and network errors that make the whole thing feel impossible. We've been there. This guide walks you through every step, from hardware checks to port forwarding, so you can launch a smooth, invite-ready server even if you've never done anything like this before.
Table of Contents
- What you need before you begin
- Step-by-step: Downloading and launching your Minecraft server
- Optimizing your server: Performance choices and plugins
- Network access: Port forwarding, firewalls, and connection troubleshooting
- Testing your server and next steps
- What most Minecraft server guides miss: Real admin insights
- Get help, tips, and inspiration for your Minecraft server
- Frequently asked questions
Key Takeaways
| Point | Details |
|---|---|
| Get setup right first | Preparing Java 21, correct files, and hardware avoids headaches and wasted time. |
| Boost server performance | Switching to Paper or Purpur dramatically improves gameplay smoothness and plugin support. |
| Enable friends to join | Correctly forwarding port 25565 and setting firewall rules is essential for outside access. |
| Test and grow | Verify server access, add trusted plugins, and build a fun, vibrant Minecraft community. |
What you need before you begin
Now that you know what this guide covers, let's make sure you have everything ready before you start clicking download. Skipping this preparation step is the number one reason new server admins end up frustrated halfway through setup.
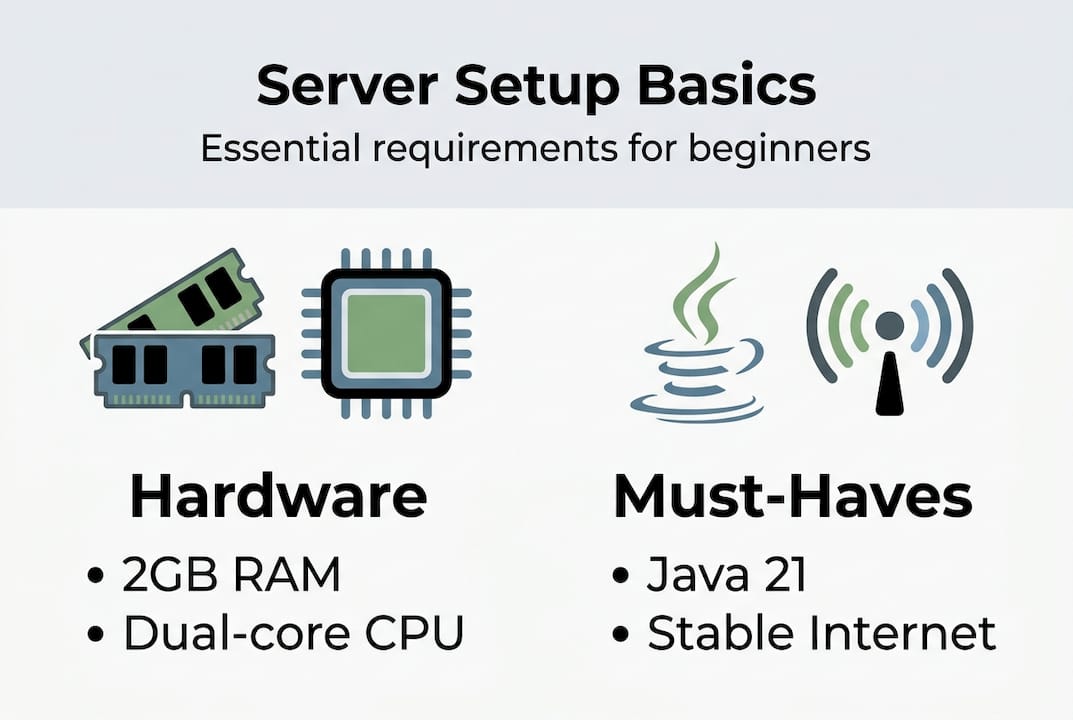
Here's what you need at minimum:
- CPU: Dual-core processor or better (quad-core recommended for 10+ players)
- RAM: At least 2GB dedicated to the server, 4GB or more for a comfortable experience
- Storage: 1GB free minimum, but plan for more as your world grows
- Java: Java 21 or newer, since Java 21 is required for Minecraft versions 1.20.5 and above
- Minecraft Java Edition: Installed and logged in on your account
- server.jar: Downloaded from the official setup tutorial at minecraft.net/download/server
- Router access: You'll need your router's admin login for port forwarding later
| Requirement | Minimum | Recommended |
|---|---|---|
| RAM | 2GB | 4GB+ |
| CPU | Dual-core | Quad-core |
| Storage | 1GB | 10GB+ |
| Java version | Java 21 | Java 21+ |
| Connection | WiFi | Wired Ethernet |
Before you go further, also check that you understand the basics of choosing Minecraft server types, since your software choice affects everything from performance to plugin support.
One legal note: Minecraft's EULA (End User License Agreement) must be accepted before your server can run. You'll handle that in the next section, but know it's non-negotiable.
Pro Tip: Plug your PC directly into your router with an Ethernet cable. WiFi introduces packet loss and latency spikes that make your server feel laggy even when your hardware is fine.
Step-by-step: Downloading and launching your Minecraft server
Once you've got everything on the checklist, you're ready for the hands-on setup. Follow these steps in order and don't skip ahead.
- Download server.jar from the official Minecraft website. Save it to a dedicated folder, like "C:/MinecraftServer`.
- Run server.jar once by double-clicking it or using the command
java -jar server.jar --nogui. It will generate config files and then stop. - Open eula.txt in any text editor. Change
eula=falsetoeula=trueand save the file. This is required by Mojang. - Create a startup script. On Windows, make a
.batfile. On Mac or Linux, make a.shfile. Your script should contain:java -Xms1G -Xmx2G -jar server.jar --nogui - Run your startup script to launch the server. Wait for the "Done" message in the console.
- Connect in Minecraft by opening the game, clicking Multiplayer, and entering
localhostas the server address.
The first run generates eula.txt which must be set to eula=true, and your startup script controls how much RAM the server uses. The -Xms flag sets the minimum RAM and -Xmx sets the maximum. Starting with 1GB minimum and 2GB maximum works well for small groups.
Warning: Only download server.jar from the official Minecraft website. Third-party downloads can contain malware. Also, accepting the EULA means you agree to Mojang's terms, including rules about commercial use.
| Step | Common mistake | What happens |
|---|---|---|
| Run server.jar | Skipping folder setup | Files scatter across your desktop |
| Edit eula.txt | Leaving it as false | Server refuses to start |
| Write startup script | No RAM flags | Server crashes under load |
Connect with localhost | Using public IP on LAN | Connection timeout errors |
As you grow your server, you'll want to think about building a server community from day one, since the rules and culture you set early shape everything that follows.
Pro Tip: Save your startup script to your desktop for quick restarts. When you update the server or install plugins, you just close the console and double-click the script again.
Optimizing your server: Performance choices and plugins
With your server running, it's time to make the gameplay smooth and enjoyable. Vanilla Minecraft server software works, but it has real performance limits that become obvious fast.

Here's how the main server software options compare:
| Software | Performance | Plugin support | Best for |
|---|---|---|---|
| Vanilla | Baseline | None | Solo testing only |
| Spigot | Moderate | Yes | Small, simple servers |
| Paper | High | Yes | Most servers |
| Purpur | Very high | Yes | Feature-rich servers |
Paper offers a 30-50% TPS improvement over vanilla through async chunk loading and entity optimizations, making it the recommended choice for nearly every new server. TPS stands for ticks per second. The game targets 20 TPS, and anything below 15 causes noticeable lag. Purpur builds on Paper and adds even more configuration options, which you can read about in our Paper vs. Purpur explained breakdown.
Once you're on Paper or Purpur, these tweaks make a real difference:
- View distance: Set it to 6-8 chunks instead of the default 10. Players rarely notice, but your server will.
- Mob caps: Reduce the default mob cap slightly to cut entity processing load.
- Hopper lag fix: Enable
use-hopper-checkin Paper's config to reduce tick lag from large hopper chains. - Plugins to start with: EssentialsX (basic commands), LuckPerms (permissions), CoreProtect (block logging), and a simple anti-cheat like NoCheatPlus.
For best multiplayer mods that work well alongside these plugins, we have a dedicated guide worth checking out.
Pro Tip: Don't over-allocate RAM. Giving your server 8GB when it only needs 3GB actually causes longer garbage collection pauses. Use Aikar's flags in your startup script instead of just maxing out -Xmx. The server optimization guide has the exact flag string to copy.
Network access: Port forwarding, firewalls, and connection troubleshooting
With performance tuned, you'll want friends to join your server from anywhere, not just your home network. This is where most beginners hit their biggest wall.
Port forwarding tells your router to send incoming Minecraft traffic to your specific PC. Without it, connection attempts from outside your home just bounce off your router. Here's how to set it up:
- Find your local IP address. On Windows, open Command Prompt and type
ipconfig. Look for the IPv4 address, usually something like192.168.1.x. - Set a static local IP. Go into your router settings and assign your PC a fixed local IP so it doesn't change.
- Log into your router. Type your router's gateway address (usually
192.168.1.1) into your browser. - Find the port forwarding section. It may be listed under "Advanced," "NAT," or "Virtual Servers."
- Create a new rule for TCP/UDP port 25565 pointing to your PC's local IP.
- Allow the port in Windows Firewall. Go to Windows Defender Firewall, add an inbound rule for port 25565.
Common problems to watch for:
- Wrong local IP: Your PC's IP changed after a restart. Always set a static IP first.
- Double NAT: You have two routers. You'll need to forward on both.
- ISP firewall: Some ISPs block gaming ports. Contact your ISP if nothing else works.
- CGNAT: Many ISPs use Carrier Grade NAT, which means you don't have a real public IP. Port forwarding simply won't work in this case.
If you're stuck with CGNAT, services like Playit.gg or Ngrok act as tunnels that route traffic without needing port forwarding. These are free options that work well for small friend groups. For more on avoiding server pitfalls that can frustrate your players, that guide covers common admin mistakes worth knowing.
Security note: Opening port 25565 exposes your server to the internet. Use a strong server whitelist, enable
online-mode=truein server.properties to require valid Mojang accounts, and never share your public IP in public spaces.
Testing your server and next steps
With everything set up for connections, confirm your server is working and start expanding its potential. Testing isn't optional. It's how you catch problems before your friends do.
To connect from your own PC, use localhost or 127.0.0.1. To test from another device on your home network, use your local IP. To confirm external access works, use your public IP (find it at whatismyip.com) from a phone on mobile data, not WiFi.
Here's a quick health check list:
- Server console shows "Done" with no red error text
- You can connect using
localhostin Minecraft - A friend outside your network can connect using your public IP
- TPS stays at or near 20 during normal gameplay
- No timeout errors appear in the server log
Common join errors and fixes:
- "Connection refused": Server isn't running or the port isn't open
- "Can't reach server": Wrong IP address or port forwarding isn't working
- "Not authenticated":
online-modeis set to false but player is using a legitimate account (or vice versa)
Once the basics are confirmed, use /timings to test changes one-by-one and isolate what's affecting performance. For ideas on what to add next, explore better Minecraft modpacks or start thinking about events and player engagement through our growing a server community guide.
Pro Tip: Always test one change at a time. If you install five plugins at once and something breaks, you'll have no idea which one caused it. Small, isolated changes are the fastest path to a stable server.
What most Minecraft server guides miss: Real admin insights
Now that you're running your server, it's worth reflecting on what really matters for long-term enjoyment. Most guides focus heavily on specs and flags, and then leave you on your own the moment things get complicated.
Here's the uncomfortable truth: hardware matters far less than plugin discipline. We've seen servers running on modest laptops outlast servers with dedicated machines, simply because the admins on those modest setups kept their plugin list lean and their rules clear. Every plugin you add is a potential conflict waiting to happen. New server owners almost always install too many plugins too fast, chasing features before the basics are solid.
The servers that keep players coming back aren't always the ones with the best TPS. They're the ones with fair rules, transparent admins, and a genuine sense of community. Moderation and trust are the real performance flags. You can read more about building a community that actually sticks around.
One more thing most guides skip: backups. Set up automatic world backups before you do anything else. Fancy startup flags won't save you when a corrupted chunk wipes out three weeks of player builds. A simple scheduled backup beats every performance optimization on this list.
Get help, tips, and inspiration for your Minecraft server
Ready to go beyond setup? Getting your server online is just the beginning. The real fun starts when you start shaping the experience for your players.

At Gaia Legends, we publish daily guides covering everything from advanced server configuration and plugin deep dives to community event ideas and the latest Minecraft updates. Whether you're troubleshooting a stubborn network issue or looking for creative ways to keep your players engaged, our complete server guides have you covered. If you're also thinking about joining other servers while yours grows, our breakdown on choosing survival servers is a great next read. Come explore, learn, and build something your players will love.
Frequently asked questions
What hardware do I need to run a small Minecraft server?
You need at least 2GB of RAM, a dual-core processor, and a stable internet connection to comfortably host 5-10 friends on a home server.
How do I get my friends to join my Minecraft server from outside my home?
Set up port forwarding on your router for port 25565 using TCP/UDP, make sure your firewall allows inbound connections on that port, and share your public IP address with your friends.
What's the difference between Vanilla, Paper, Purpur, and Spigot servers?
Paper and Purpur deliver significantly better performance than Vanilla or Spigot, with Paper providing 30-50% TPS gains through smarter chunk loading, and both support plugins for expanded features.
What should I do if port forwarding doesn't work?
If your ISP uses CGNAT, you won't be able to port forward traditionally. Instead, use a tunneling service like Playit.gg or Ngrok to route connections without needing a real public IP.